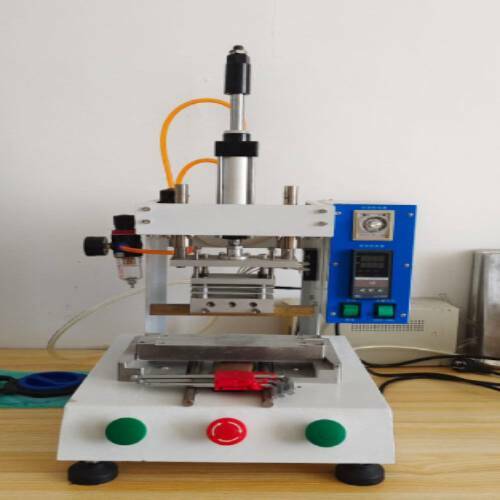
Why Quality Control Matters for Hydration Bladders
Hydration bladders are critical pieces of equipment for hikers, cyclists, and outdoor enthusiasts. Their failure in the field can lead to more than just inconvenience—it can create dangerous situations where users are left without water in remote locations. Proper quality control ensures:
- Consistent product performance across all manufacturing batches
- Prevention of leaks that could damage other gear or leave users without water
- Durability that withstands the rigors of outdoor activities
- Safe materials that don’t contaminate drinking water
- Proper functionality of all components including bite valves and closure systems
Implementing a standardized Hydration Bladder Outgoing Inspection Checklist helps manufacturers maintain quality while giving consumers confidence in their essential hydration equipment.
Comprehensive Hydration Bladder Inspection Checklist
Below is a detailed inspection checklist covering the critical parameters that should be verified before hydration bladders leave the manufacturing facility. This checklist is designed to identify potential issues across dimensions, appearance, and functionality.
| Category | Parameter | Requirement |
| Dimension | Length | Per Specific ±5mm |
| Width | Per Specific ±5mm | |
| Thickness | 0.35 ±0.04mm | |
| Tube Length | 103cm ±3cm | |
| Appearance | Color | Matches approval sample |
| Surface | Smooth, no scratches/dents | |
| O-ring | Present on tube/cap | |
| Branding | Correct placement & legibility | |
| Function | Load Test | 50KG for 30 seconds |
| Bite Valve | No leaks when closed | |
| Tube Connection | Leak-free | |
| Closure System | No leakage |
Understanding Dimensional Standards
The Importance of ±5mm Tolerance in Bladder Dimensions
The ±5mm tolerance specified for hydration bladder length and width is critical for ensuring proper fit within backpacks and hydration systems. This tolerance strikes the optimal balance between manufacturing practicality and functional requirements.
Too tight a tolerance (e.g., ±1mm) would significantly increase manufacturing costs and rejection rates without providing meaningful functional benefits. Conversely, a looser tolerance could result in bladders that don’t fit properly in standard hydration packs.
When inspecting dimensions, use a clean, flat surface and proper measuring tools. Measurements should be taken at multiple points to account for potential variations across the bladder surface.
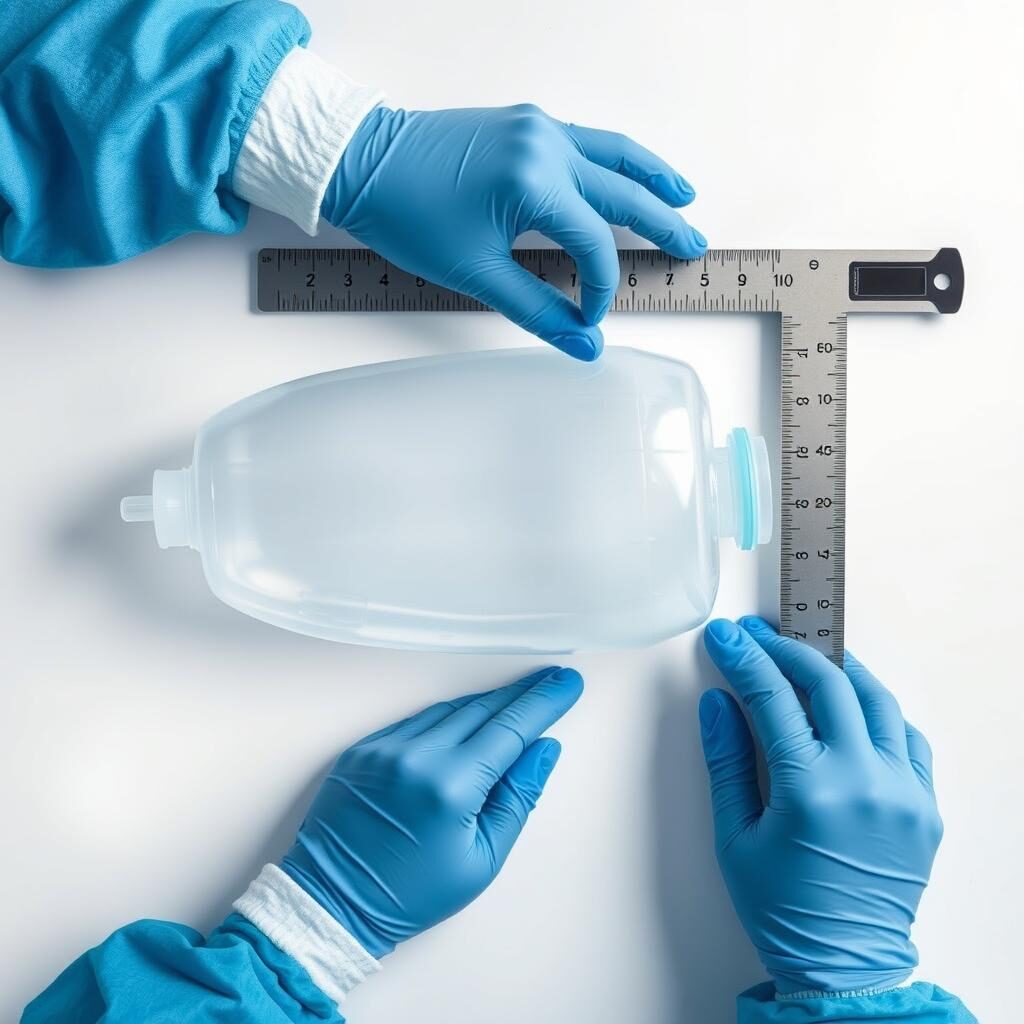
Critical Thickness Parameters (0.35 ±0.04mm)
The thickness specification of 0.35 ±0.04mm is perhaps the most critical dimensional parameter. This seemingly small variation has significant real-world implications:
- Too thin (below 0.31mm): Risk of punctures, tears, and premature failure
- Too thick (above 0.39mm): Reduced flexibility, increased weight, and potential folding/storage issues
- Inconsistent thickness: Weak points that could develop leaks under pressure
Thickness should be measured using calibrated micrometers or thickness gauges at multiple points across the bladder. Pay special attention to seam areas and corners where thickness variations are most likely to occur.
Tube Length Verification (103cm ±3cm)
The tube length specification of 103cm ±3cm ensures the drinking tube can reach from the bladder to the user’s mouth when worn in a backpack. This measurement should be taken from the connection point at the bladder to the tip of the bite valve with the tube fully extended.
Visual Inspection Techniques
Visual inspection is critical for identifying surface flaws, verifying branding, and ensuring overall product quality. Implementing systematic visual inspection techniques helps catch defects that might be missed in casual observation.
Surface Flaw Detection
Inspect bladders under different lighting conditions to reveal surface imperfections:
- Direct overhead lighting to identify dents and depressions
- Backlighting to reveal thin spots or punctures
- Angled lighting to highlight scratches and surface irregularities
Branding Verification
Verify logo placement and print quality using these techniques:
- Use alignment templates to verify logo positioning
- Check print clarity under magnification
- Verify color matching against approved samples
- Test print durability with gentle rubbing
O-Ring Inspection
Verify O-ring integrity using these methods:
- Check for proper seating in groove
- Verify absence of twists or deformation
- Confirm material consistency and elasticity
- Ensure proper size for the specific connection
Scratch and Dent Identification
Surface imperfections can compromise both the aesthetics and functionality of hydration bladders. Use these techniques to identify and evaluate surface flaws:
- Light reflection method: Rotate the bladder under bright light to catch reflections from surface irregularities
- Tactile inspection: Gently run fingertips over the surface to feel for irregularities not visible to the eye
- Water fill test: Fill partially with water to see if dents or deformations affect the bladder’s shape
Not all surface imperfections are cause for rejection. Use these guidelines to determine severity:
- Acceptable: Minor surface marks that don’t affect material integrity
- Unacceptable: Deep scratches, punctures, or dents that could weaken the material
- Unacceptable: Any flaw that could harbor bacteria or affect cleaning
Functional Testing Protocols
Functional testing is the final and most critical phase of the Hydration Bladder Outgoing Inspection Checklist. These tests verify that the bladder will perform as expected under real-world conditions.
50KG Load Test Methodology
The 50KG load test verifies the structural integrity of the bladder under pressure. This test simulates extreme conditions that might occur during use or transport.
Test Procedure:
- Fill the bladder completely with clean water
- Seal all openings securely
- Place on a flat, clean surface
- Apply 50KG of evenly distributed weight
- Maintain pressure for exactly 30 seconds
- Remove weight and inspect for leaks or deformation
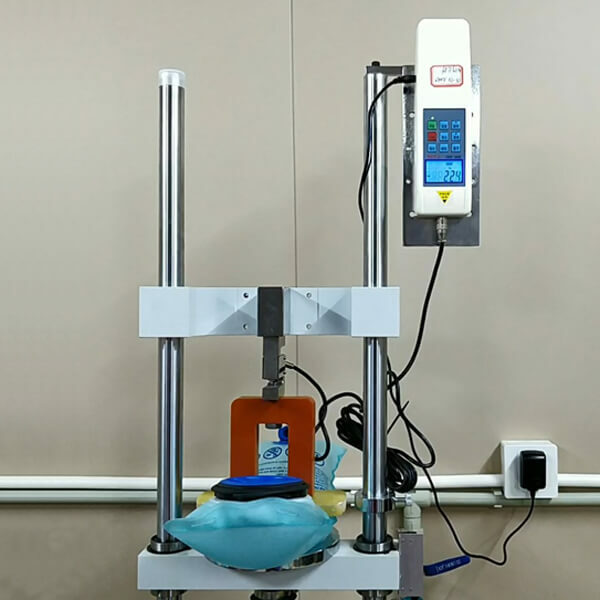
Safety Note: Always use proper weight distribution tools when conducting load tests. Direct weight application can cause inaccurate results or damage testing equipment.
Bite Valve Pressure Test
The bite valve is a critical component that must prevent leakage when closed while allowing adequate flow when activated. Follow this step-by-step protocol:
- Fill the bladder with clean water
- Hang the bladder with the bite valve at the lowest point
- Observe for 5 minutes to verify no leakage occurs
- Apply gentle pressure to the bite valve to verify proper flow
- Release and verify valve closes completely
- Squeeze the bladder firmly while valve is closed to test under pressure
Tube Connection Stress Test
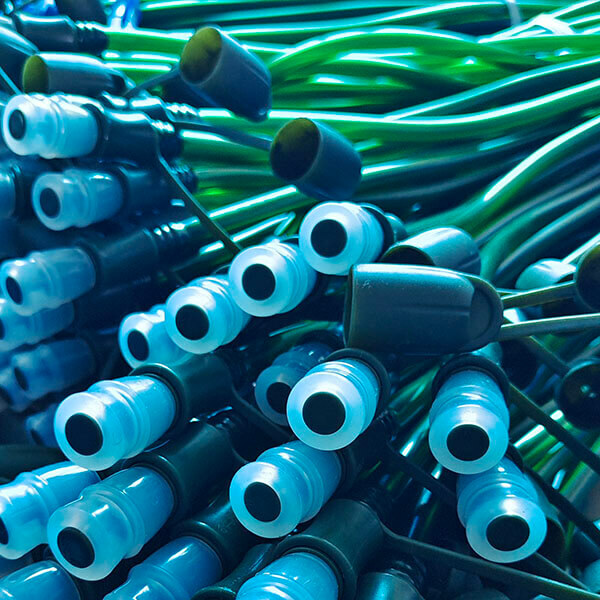
The connection between the tube and bladder is a common failure point. This stress test verifies the connection’s integrity:
- Fill the bladder halfway with water
- Apply gentle rotational force to the tube connection (15° in each direction)
- Apply gentle pulling force (equivalent to 2kg) to the tube
- Squeeze the bladder to create internal pressure while maintaining pulling force
- Inspect connection point for any leakage or separation
Closure System Water Retention Test
The closure system must create a watertight seal to prevent leakage. Verify using this protocol:
- Fill the bladder completely with water
- Close the system according to design specifications
- Invert the bladder with the closure system facing downward
- Apply gentle pressure to the bladder
- Observe for any leakage around the closure area
- Maintain inverted position for 2 minutes while observing
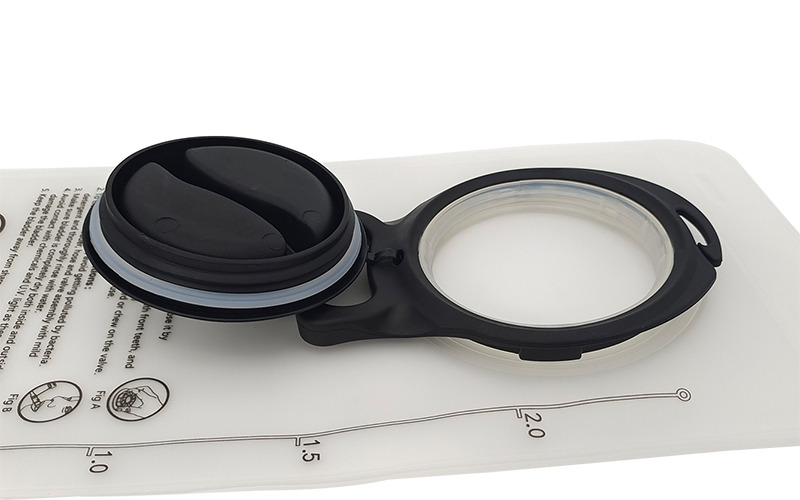
O-Ring Verification for Leakproof Performance
The O-ring is a critical component for ensuring a leakproof seal in hydration bladders. Proper inspection of O-rings is essential for the Hydration Bladder Outgoing Inspection Checklist.
O-Ring Inspection Criteria
- Material integrity: Check for cracks, deformation, or degradation
- Proper sizing: Verify O-ring diameter matches specifications
- Correct installation: Ensure O-ring sits properly in groove without twisting
- Surface finish: Confirm smooth surface without manufacturing defects
- Elasticity: Verify proper compression and recovery properties
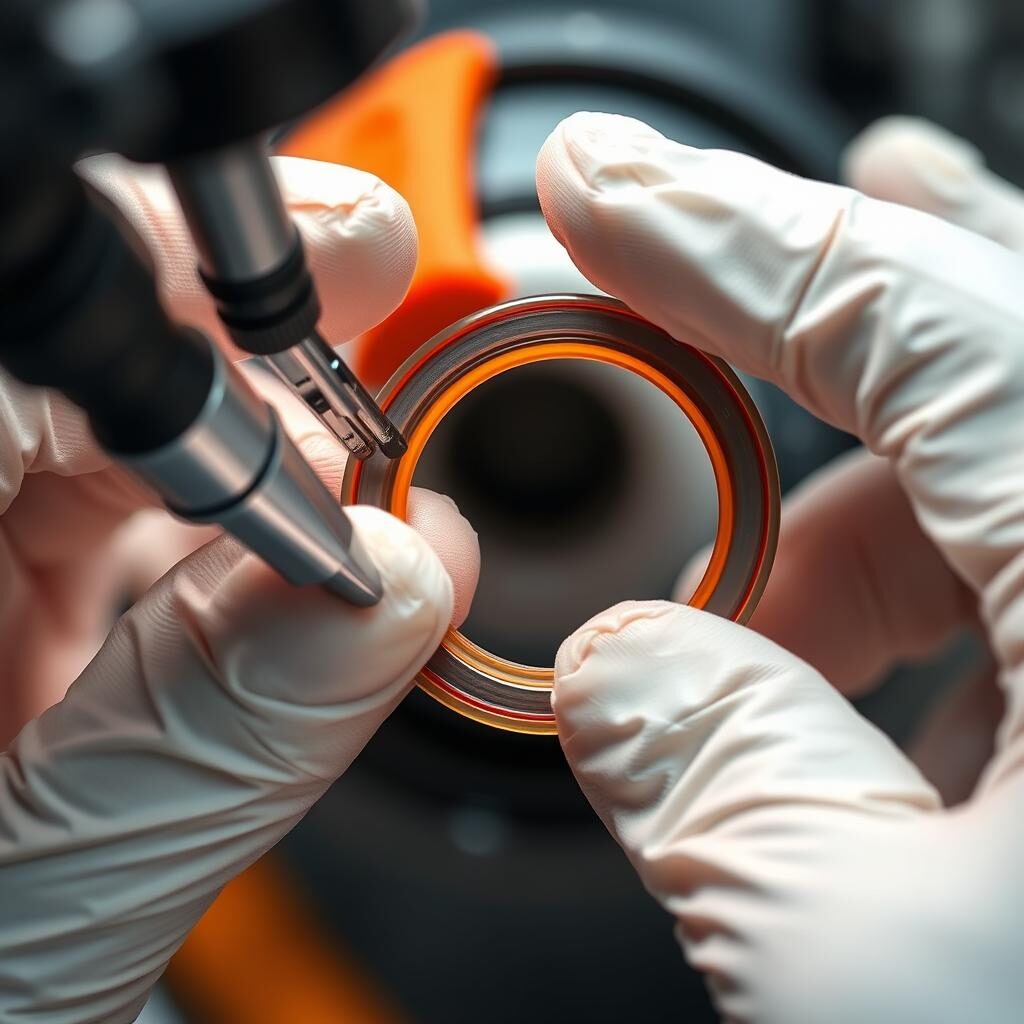
O-Ring Effectiveness Verification
To verify O-ring effectiveness, perform these specific tests as part of your Hydration Bladder Outgoing Inspection Checklist:
- Visual inspection: Check for proper seating and absence of debris
- Compression test: Verify the O-ring compresses evenly when the cap is tightened
- Pressure test: Fill the bladder, close with cap, and apply gentle pressure to test seal
- Vacuum test: Create slight vacuum in bladder to test seal integrity under negative pressure
Pro Tip: Apply a small amount of food-grade silicone lubricant to O-rings during testing to ensure proper sealing and prevent damage during repeated cap removal and installation.
Essential Tools for Hydration Bladder Inspection
Implementing a thorough Hydration Bladder Outgoing Inspection Checklist requires the right tools. Here are the essential instruments needed for accurate quality control:
Precision Measurement Tools
- Digital calipers (±0.01mm accuracy)
- Micrometers for thickness measurement
- Flexible measuring tape for tube length
- Calibrated rulers for overall dimensions
Visual Inspection Equipment
- LED inspection lights with adjustable angles
- Backlight inspection table
- Magnification lenses (5-10x)
- Color matching standards
Functional Testing Apparatus
- Calibrated weights for load testing
- Pressure testing equipment
- Leak detection solutions
- Tube connection testing fixtures
Maintaining Inspection Standards
Consistent application of the Hydration Bladder Outgoing Inspection Checklist requires ongoing maintenance of standards and procedures. Implement these best practices to ensure quality control remains effective over time:
Regular Calibration
All measurement tools should be calibrated regularly according to manufacturer specifications. Create a calibration schedule and maintain records of all calibration activities.
Inspector Training
Develop a comprehensive training program for quality control personnel. Include both theoretical knowledge and hands-on practice with the Hydration Bladder Outgoing Inspection Checklist.
Reference Samples
Maintain a library of reference samples that represent both acceptable and unacceptable quality. Use these for training and as comparison standards during inspection.
Documentation
Implement thorough documentation procedures for all inspection results. Track defect types and rates to identify trends and improvement opportunities.
Implement Professional Quality Control Standards
Elevate your hydration bladder quality control process with our comprehensive resources. Our complete quality management system includes detailed inspection procedures, training materials, and documentation templates.
Conclusion
A comprehensive Hydration Bladder Outgoing Inspection Checklist is essential for ensuring product quality, safety, and performance. By implementing the inspection parameters and testing protocols outlined in this guide, manufacturers can significantly reduce defect rates and enhance customer satisfaction.
Remember that quality control is not a one-time event but an ongoing process. Regular review and refinement of your inspection procedures will help maintain high standards as manufacturing processes and materials evolve. By prioritizing quality at every stage of production, you ensure that your hydration bladders will perform reliably when it matters most—in the field.
Frequently Asked Questions
Why is the ±5mm tolerance important for hydration bladder dimensions?
The ±5mm tolerance for length and width ensures that hydration bladders will fit properly in standard backpacks and hydration systems while allowing for practical manufacturing variations. This tolerance strikes the optimal balance between functional requirements and production efficiency.
How often should inspection tools be calibrated?
Inspection tools should be calibrated according to manufacturer recommendations, typically every 6-12 months for precision instruments like micrometers and calipers. However, tools used frequently or in harsh environments may require more frequent calibration. Always maintain calibration records as part of your quality control documentation.
What is the most common failure point in hydration bladders?
The most common failure points in hydration bladders are the seams, tube connections, and closure systems. These areas experience the most stress during use and are critical inspection points in the Hydration Bladder Outgoing Inspection Checklist. Particular attention should be paid to O-ring integrity and proper seating.
How can I verify the material thickness is within specifications?
Use a calibrated micrometer or thickness gauge to measure the material at multiple points across the bladder. Take at least 5-10 measurements at different locations, paying special attention to corners and seam areas. Calculate the average and ensure it falls within the 0.35 ±0.04mm specification range.

