Why Cleaning Your Hydration Bladder Is Essential
Even if you only use your hydration bladder for water, regular cleaning is crucial. The warm, moist environment inside the reservoir creates perfect conditions for mold and bacteria growth. These microorganisms can not only affect the taste of your water but potentially cause stomach issues during your outdoor adventures.
Regular maintenance offers several important benefits:
- Prevents mold and bacteria growth that can make you sick
- Eliminates unpleasant tastes and odors from your drinking water
- Extends the lifespan of your hydration system
- Ensures reliable performance during outdoor activities
- Maintains the integrity of the bladder material over time
The good news? Cleaning your hydration bladder doesn’t need to be complicated or time-consuming. With the right approach, you can quickly restore your reservoir to like-new condition.
Materials You’ll Need
Before getting started, gather these basic supplies for effective cleaning:
Essential Material:
- Mild dish soap (fragrance-free preferred)
- Warm water
- Baking soda
- White vinegar or lemon juice
- Clean towels or paper towels
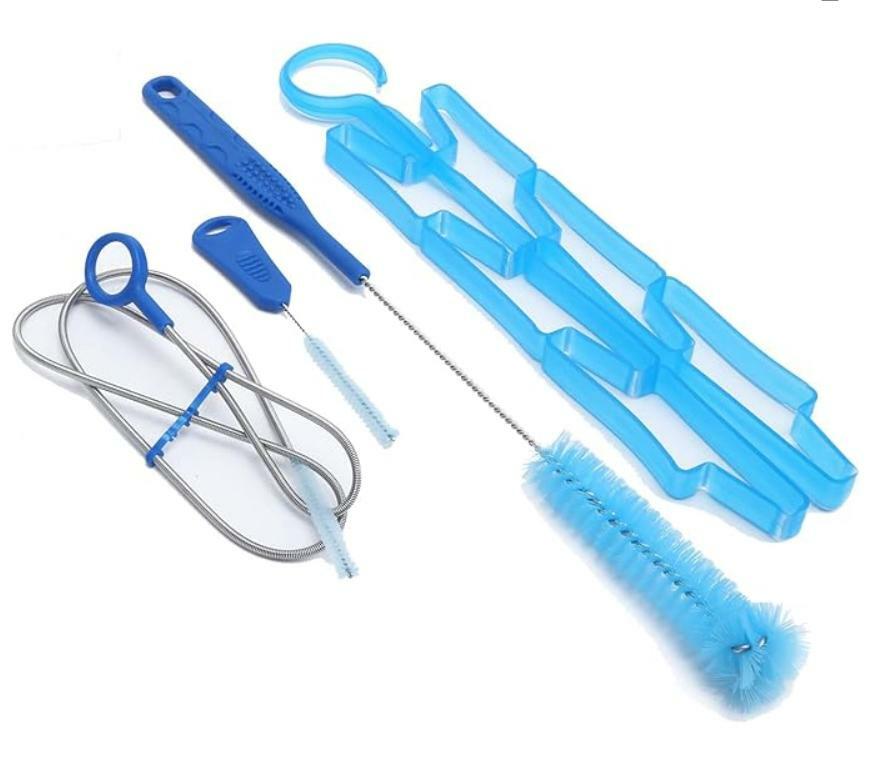
Helpful Tools (Optional):
- Reservoir cleaning brush
- Tube cleaning brush or pipe cleaners
- Reservoir hanger or drying rack
- Specialized cleaning tablets
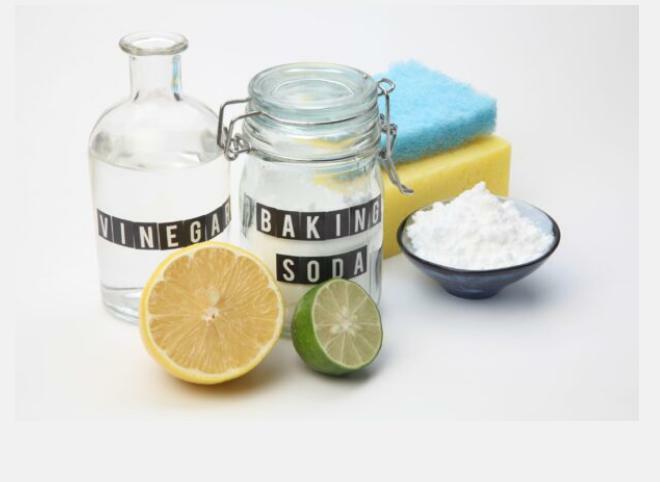
Don’t have specialized cleaning tools? Most kitchen items work perfectly! A bottle brush can substitute for a reservoir brush, and a pipe cleaner works well for tubes.
Step-by-Step Cleaning Instructions
Step 1: Empty and Disassemble Your Hydration Bladder
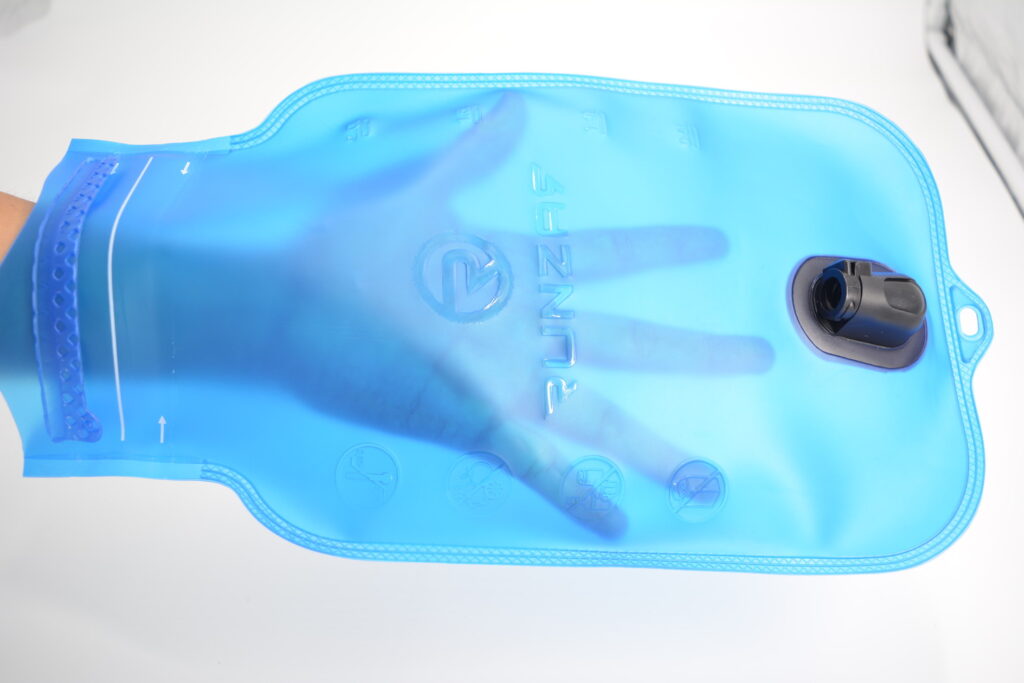
Start by completely emptying your hydration bladder. Turn it upside down and squeeze the bite valve to drain all remaining liquid. Then, disassemble all components including the tube, bite valve, and any connectors. This allows you to clean each part thoroughly and reach all the nooks where mold might hide.
Step 2: Rinse with Warm Water
Give your hydration bladder an initial rinse with warm water. Fill the reservoir about halfway, close it securely, and gently shake it to loosen any debris. If your bladder has been used recently, this step helps remove any remaining residue before the deep cleaning begins.
For the tube and bite valve, run warm water through them to flush out any liquid that might be trapped inside. This preliminary rinse makes the deep cleaning more effective.
Step 3: Clean with Mild Soap
Fill your hydration bladder with warm water and add a few drops of mild dish soap. Seal the reservoir and gently shake it to create suds and ensure the soapy water reaches all interior surfaces. Let this solution sit for about 5 minutes to help break down any buildup.
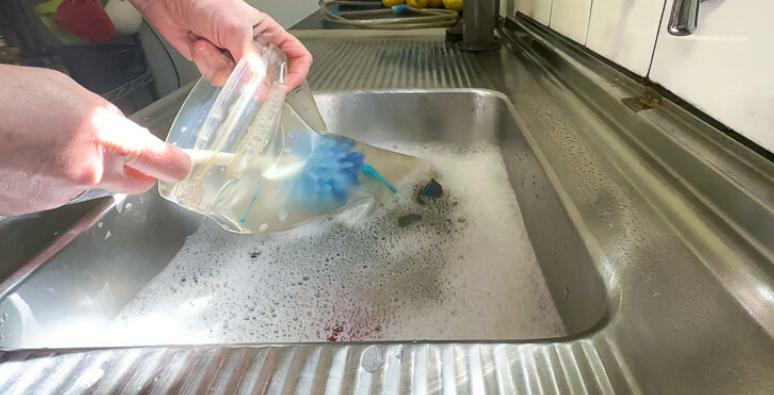
If you have a reservoir brush, use it to scrub the interior walls of the bladder, paying special attention to corners and seams where mold tends to accumulate. For the drinking tube, either use a specialized tube brush or create a soapy solution and run it through the tube several times.
For stubborn stains or odors, specialized cleaning brushes can make the job much easier. Consider investing in a quality brush kit for regular maintenance.
Step 4: Sanitize (Recommended)
After soap cleaning, sanitizing your hydration bladder helps eliminate any remaining bacteria or mold spores. You have several effective options:
Baking Soda Method
Mix 2-3 tablespoons of baking soda with warm water. Fill your bladder with this solution and let it sit for 30 minutes before rinsing thoroughly.
Vinegar Method
Create a solution of 1 part white vinegar to 4 parts water. Fill your bladder and let sit for 20 minutes. This method is excellent for eliminating odors.
Lemon Juice Method
Mix ¼ cup of lemon juice with 1 liter of water. This natural sanitizer works well for freshening up your bladder and neutralizing odors.
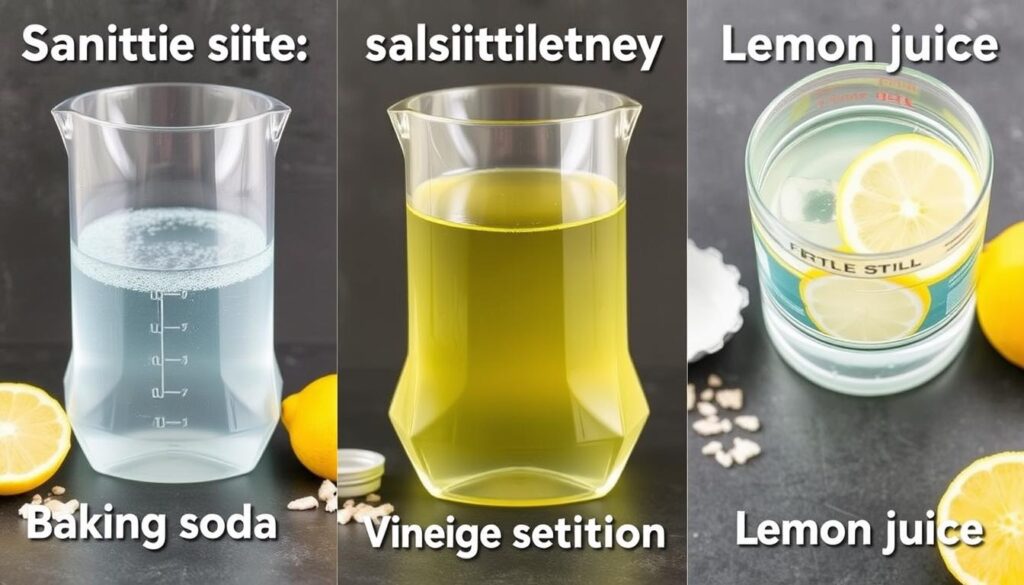
Whichever method you choose, make sure to run some of the sanitizing solution through the drinking tube as well. After sanitizing, rinse everything thoroughly with clean water multiple times to remove any residual taste.
Step 5: Rinse Thoroughly
Complete rinsing is crucial to remove all cleaning agents. Fill your hydration bladder with clean water, shake it, and drain through the tube. Repeat this process 2-3 times or until you no longer see any soap bubbles or detect any cleaning solution smell.

Step 6: Dry Completely
Proper drying is perhaps the most important step to prevent mold growth. After rinsing:
- Wipe down the interior with a clean paper towel to remove excess moisture
- Prop the bladder open to allow air circulation (use a kitchen spoon or specialized hanger)
- Place rolled paper towels inside to keep the walls separated
- Hang upside down in a well-ventilated area away from direct sunlight
- Allow 24-48 hours for complete drying
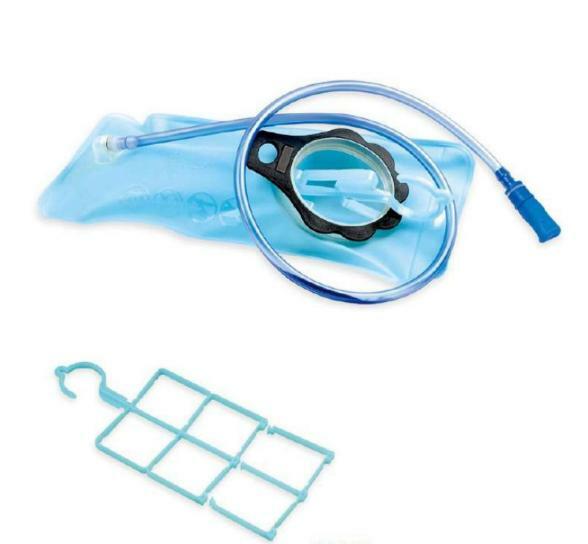
For the drinking tube, disconnect it from the bladder and hang it vertically to allow water to drain. You can swing it in a circle a few times to remove excess water before hanging.
Pro Tip: Never use a hair dryer or place your hydration bladder in direct sunlight to speed up drying. Excessive heat can damage the plastic material and compromise the integrity of your reservoir.
Special Cleaning Situations
Cleaning After Using Sports Drinks
If you’ve used your hydration bladder for anything other than water (sports drinks, electrolyte mixes, etc.), clean it immediately after use. Sugar and other ingredients can quickly lead to mold growth and are much harder to clean once dried.
Follow the standard cleaning procedure but pay extra attention to the tube and bite valve, as sugary residues tend to accumulate in these areas. A tube brush becomes especially important in this scenario.
Dealing with Stubborn Mold
If you discover mold in your hydration bladder, don’t panic. Create a stronger cleaning solution using 2 tablespoons of baking soda and 1/2 cup of white vinegar in warm water. Let this mixture sit in the bladder for 1-2 hours before scrubbing thoroughly.
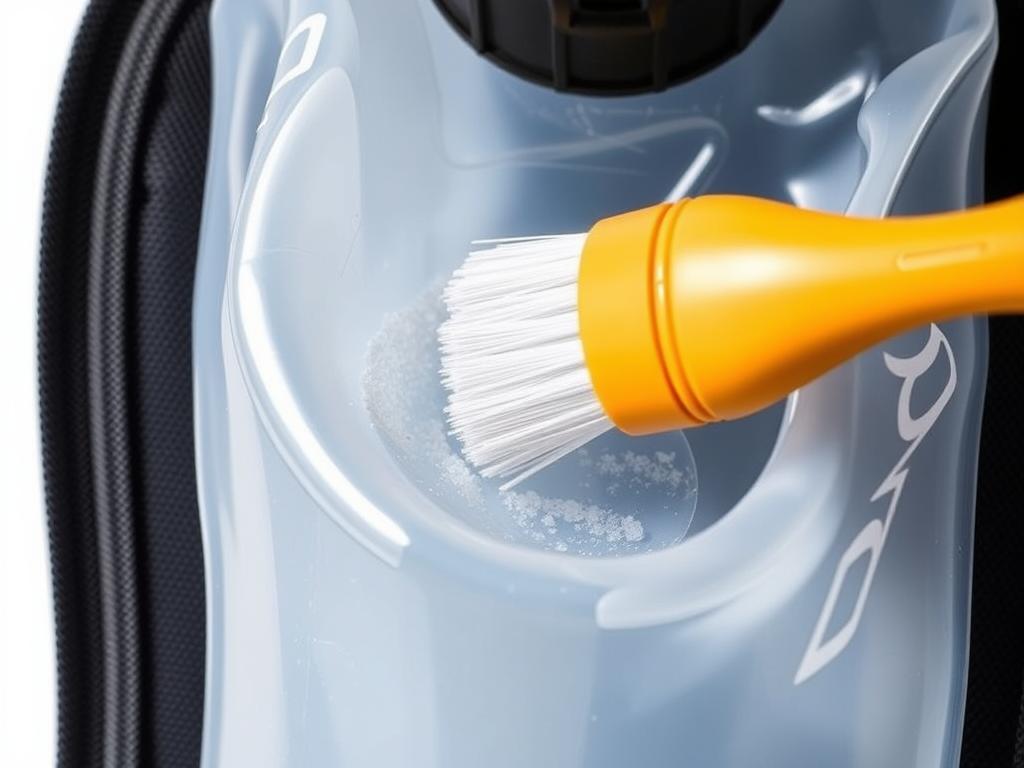
For persistent mold problems, specialized cleaning tablets designed for hydration systems can be very effective. These tablets are formulated to break down biofilm and eliminate mold without damaging the bladder material.
For stubborn mold or stains, specialized cleaning tablets can save the day. They’re convenient and highly effective at eliminating even the toughest buildup.
Preventative Maintenance Tips
Regular maintenance can significantly reduce the need for deep cleaning. Follow these simple practices to keep your hydration bladder in top condition:
- Empty and rinse your bladder after every use
- Always dry completely before storage
- Store with the cap off to allow air circulation
- Keep in a cool, dry place away from direct sunlight
- Consider storing in the freezer (when completely dry) to prevent mold growth
- Clean thoroughly after using anything besides water
- Perform a deep clean every 1-2 months with regular use
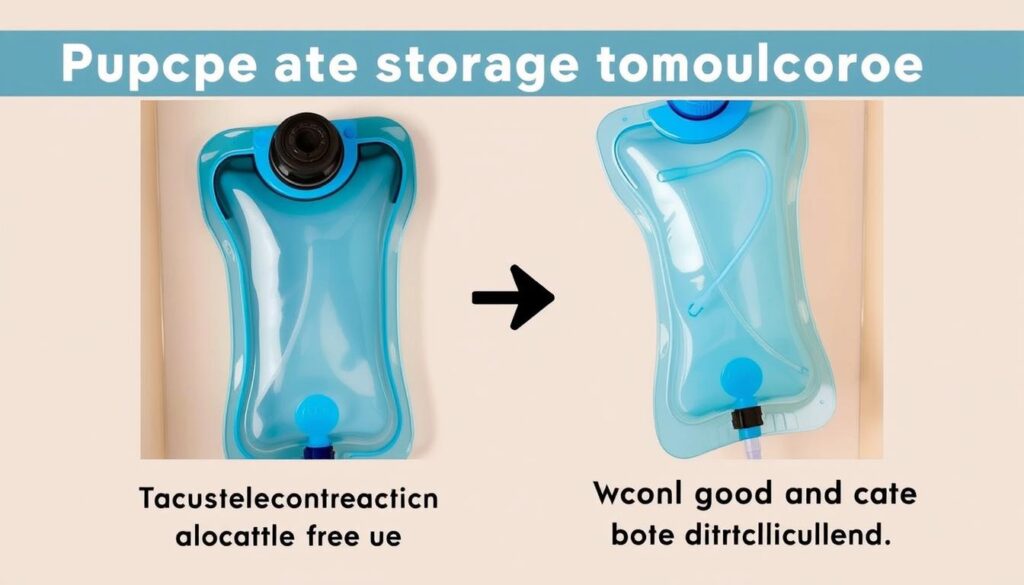
Remember: The best cleaning routine is preventative. Taking a few minutes to properly empty and dry your hydration bladder after each use will save you from dealing with mold and unpleasant odors later.
Buyer’s Tip: When choosing a hydration bladder, look for models with wide openings for easier cleaning and features that inhibit bacterial growth. The investment in a quality reservoir pays off in longevity and performance.
Conclusion
Maintaining a clean hydration bladder is essential for your health and the longevity of your gear. By following the simple steps outlined in this guide, you can ensure your water always tastes fresh and your hydration system remains free from harmful bacteria and mold.
Remember that consistency is key—a quick rinse and proper drying after each use will save you from having to deal with more serious cleaning issues down the road. Your hydration bladder is an investment in your outdoor adventures, and with proper care, it will serve you well for many years to come.
Keep Your Hydration System Fresh
Ready to upgrade your hydration system or get the supplies you need for proper cleaning? Check out our recommended products to make maintenance easier and ensure you always have clean, fresh water on your adventures.

