Staying properly hydrated is crucial for an enjoyable and safe hiking experience. A quality hydration water bladder for hiking provides convenient, hands-free access to water while on the trail. But with numerous options available, choosing the right one can be overwhelming. This comprehensive guide will walk you through the essential factors to consider when selecting a hydration bladder, compare popular brands, and provide maintenance tips to ensure your bladder serves you well for many adventures to come.
Why Use a Hydration Water Bladder for Hiking?
Before diving into selection criteria, let’s understand why many hikers prefer hydration bladders over traditional water bottles:
While water bottles have their place (and many hikers use both), a hydration bladder offers unique advantages for maintaining consistent hydration on the trail.
Key Factors for Selecting a Hydration Bladder
When choosing a hydration water bladder for hiking, consider these essential factors to find the perfect match for your needs:
Capacity: How Much Water Do You Need?
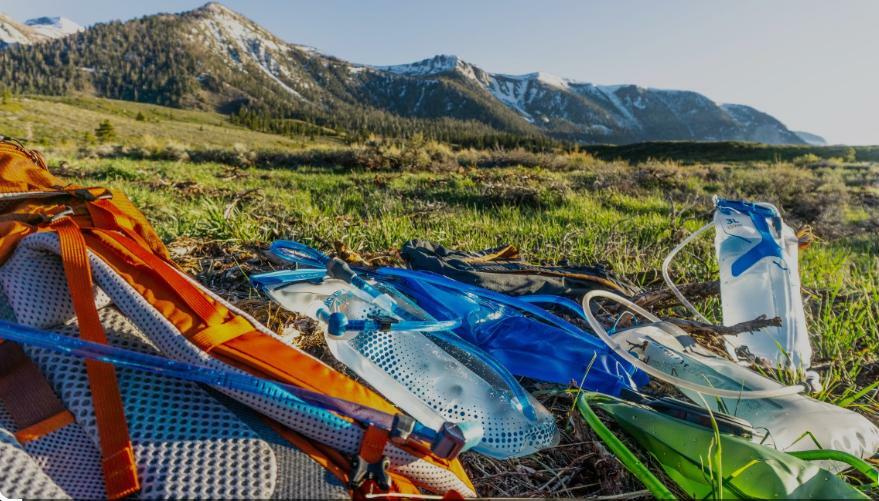
Hydration bladders typically range from 1 to 3 liters in capacity. Choosing the right size depends on:
| Capacity | Weight (Empty) | Best For | Considerations |
| 1-1.5L | 2-4 oz | Short day hikes, trail running | Lightweight, less bulk, requires more frequent refills |
| 2-2.5L | 4-6 oz | Half-day to full-day hikes | Good balance of capacity and weight |
| 3L+ | 6-8 oz | Long hikes, desert terrain, limited water sources | Heaviest option, takes up more pack space |
Pro Tip: Remember that water weighs approximately 2.2 pounds per liter. Consider this when planning your pack weight. You don’t always need to fill your bladder to capacity – adjust based on your specific hike.
Material and Durability: Will It Last?
The material of your hydration bladder affects its durability, taste, and weight:
Look for reinforced seams and quality construction at stress points. Better bladders feature welded seams rather than glued ones for improved durability and leak resistance.
Hose and Bite Valve Design

The drinking system is a critical component of your hydration bladder:
Many hikers prefer high-flow bite valves that deliver water with minimal effort. A shutoff valve is particularly important for preventing leaks when your pack is laid down or transported.
Opening and Closure System
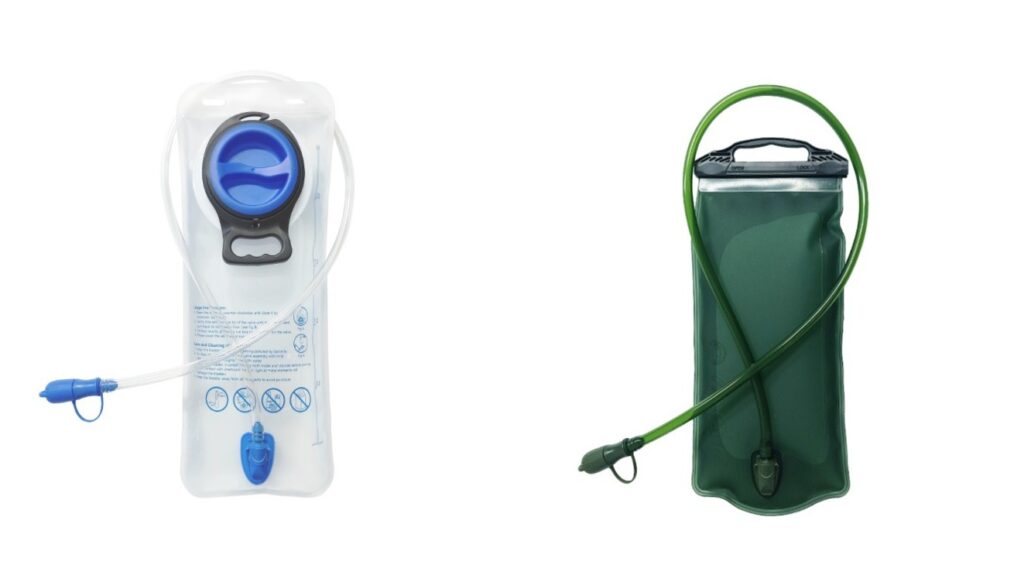
Hydration bladders typically feature one of two opening styles:
Slide-Top/Zip Closure
Screw Cap
For frequent hikers, the ease of cleaning provided by a wide-mouth slide-top closure often outweighs the slight weight penalty.
Weight and Packability
For weight-conscious hikers, consider both the empty weight of the bladder and its packability when not in use:
Ultralight backpackers might prioritize minimal weight over additional features, while weekend hikers might prefer the convenience of quick-disconnect hoses and shutoff valves despite the slight weight penalty.
Backpack Compatibility
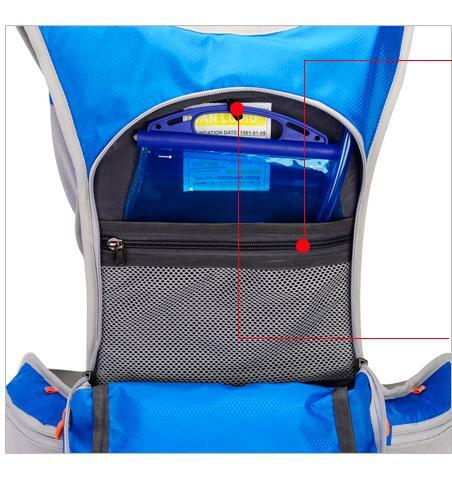
Consider how the bladder will integrate with your existing backpack:
If your pack doesn’t have a dedicated hydration sleeve, you can still use a bladder by placing it against the back panel inside your pack, though this may affect weight distribution.
Ready to Find Your Perfect Hydration Solution?
Explore our top-rated hydration bladders for hikers of all experience levels. From ultralight options to feature-rich systems, we’ve got you covered for your next adventure.
Comparing Popular Hydration Bladder Brands
Let’s examine the strengths and weaknesses of the most popular hydration bladder brands on the market:
HydraPak
Pros
- Excellent durability with lifetime warranty
- Reversible for easy cleaning
- Taste-free TPU material
- Wide range of capacities (1.5L to 3L)
- Supplies bladders for many other brands
Cons
- Premium pricing
- Some models retain slight plastic taste initially
- Heavier than ultralight options
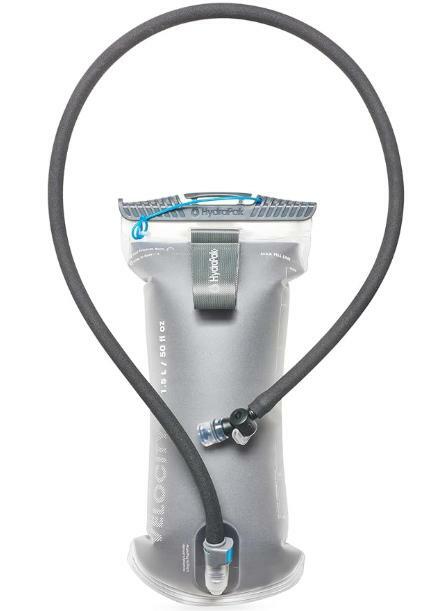
HydraPak’s Contour and Shape-Shift models are particularly popular among hikers for their balance of durability and features. Their bladders are also used in Osprey and Gregory hydration systems.
Platypus
Pros
- Excellent taste-free performance
- Lightweight design
- Durable construction
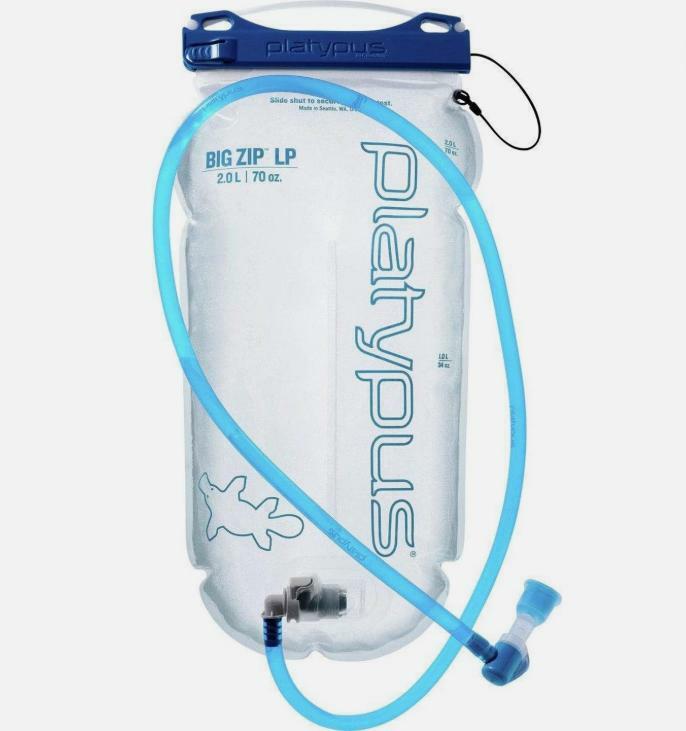
- Wide-mouth opening on Big Zip models
- Silver-ion antimicrobial treatment
Cons
- Hoser model difficult to clean (small opening)
- Some users report occasional leaking at seams
- Bite valve not as high-flow as some competitors
Platypus offers both the minimalist Hoser and the feature-rich Big Zip models. Their bladders are known for having virtually no plastic taste, making them popular among taste-sensitive hikers.
CamelBak
Pros
- High-flow bite valve design
- Durable construction
- Easy-to-use shutoff valve
- Good taste performance
- Widely available with good warranty
Cons
- Heavier than some competitors
- More difficult to clean thoroughly
- Slightly higher price point
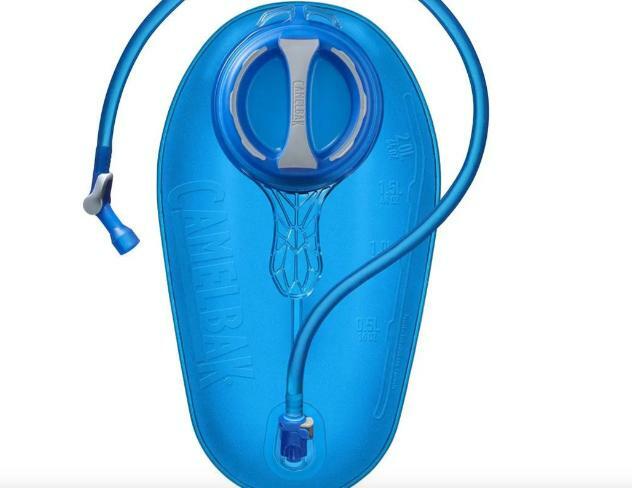
CamelBak pioneered hydration bladders and continues to innovate with their Crux system, which delivers 20% more water per sip than previous models. Their products are known for reliability and widespread availability.
Osprey Hydraulics (by HydraPak)
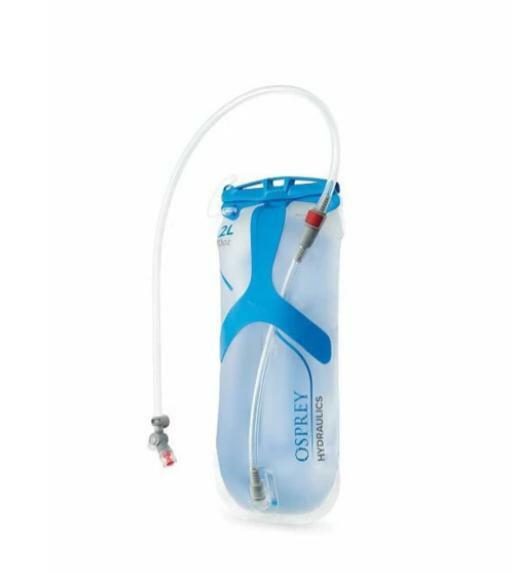
Pros
- Rigid backplate for easier pack loading
- Quick-disconnect hose system
- Magnetic bite valve attachment
- Wide-mouth opening
- Covered by Osprey’s All Mighty Guarantee
Cons
- Heavier than basic bladders
- Some users report plastic taste
- Premium pricing
- Rigid design less packable when empty
Osprey’s Hydraulics reservoirs, manufactured by HydraPak, feature a rigid backplate that maintains its shape even in a full pack, making it easier to load and unload. This makes them particularly popular for backpacking.
Find the Perfect Hydration System for Your Next Adventure
Compare top brands and read verified customer reviews to make an informed choice for your hiking hydration needs.
Maintenance and Care Tips
Proper maintenance extends the life of your hydration bladder and ensures safe, clean water on every hike.
Cleaning Your Hydration Bladder
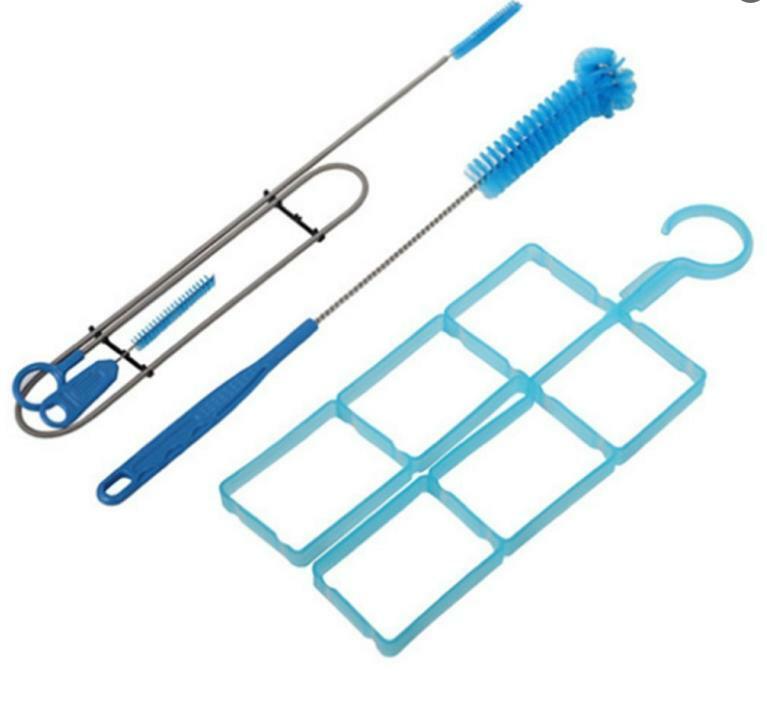
Regular cleaning prevents mold, bacteria growth, and unpleasant tastes:
Warning: Never use hot water in your hydration bladder as it can damage the material and seams. Stick to warm or cool water for cleaning.
Preventing Leaks and Damage
Avoid common causes of bladder failure with these preventative measures:
Storage Between Hikes
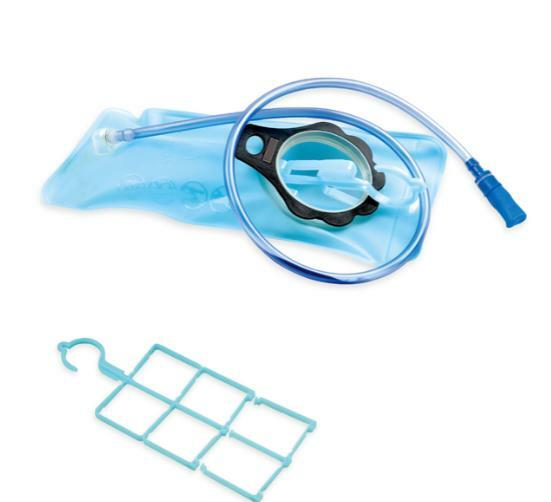
Proper storage prevents mold growth and extends your bladder’s lifespan:
Consider keeping your bladder in a dedicated storage case to protect it from punctures and contamination between trips.
Keep Your Hydration System Clean and Fresh
Explore our selection of cleaning kits, tablets, and accessories designed specifically for hydration bladders.
Seasonal Considerations for Hydration Bladders
Different hiking conditions require adaptations to your hydration system. Here’s how to optimize for various seasons:
Cold Weather Hiking

Prevent freezing issues during winter hikes with these strategies:
Products like the HydraPak HydraSleeve provide comprehensive insulation for both the bladder and hose, making them ideal for winter adventures.
Hot Weather Considerations

Maximize hydration efficiency in hot conditions:
In extremely hot conditions, consider supplementing your bladder with additional water bottles or collapsible containers for maximum capacity.
Multi-Day Backpacking
For extended trips, consider these adaptations:
Systems like the CNOC VectoX are designed specifically for backcountry water collection and filtration, making them ideal companions for multi-day adventures.
Can I put beverages other than water in my hydration bladder?
While technically possible, it’s generally not recommended to put anything but water in your hydration bladder. Sports drinks, juice, and other beverages can:
- Leave residue that’s difficult to clean
- Promote bacterial growth
- Cause the bladder material to degrade faster
- Impart flavors that persist even after cleaning
If you do use sports drinks or electrolyte mixes, clean your bladder immediately after use and consider dedicating a specific bladder for this purpose.
How long do hydration bladders typically last?
With proper care, a quality hydration bladder can last 2-5 years of regular use. Factors affecting lifespan include:
- Frequency of use
- Exposure to sunlight (UV degradation)
- Storage conditions
- Cleaning regimen
- Material quality
The bite valve and hose typically wear out before the bladder itself. Many manufacturers sell replacement parts, allowing you to extend the life of your system without replacing the entire unit.
Are hydration bladders better than water bottles for hiking?
Neither option is universally “better” – each has advantages:
Hydration Bladders:
- Hands-free drinking
- Higher capacity
- Better weight distribution
- Space efficiency in pack
Water Bottles:
- Easier to fill and clean
- Visual monitoring of water level
- More durable long-term
- Can be used for measuring and cooking
Many experienced hikers use both: a bladder for on-the-go hydration and a bottle for camp use and backup.
Making Your Final Decision
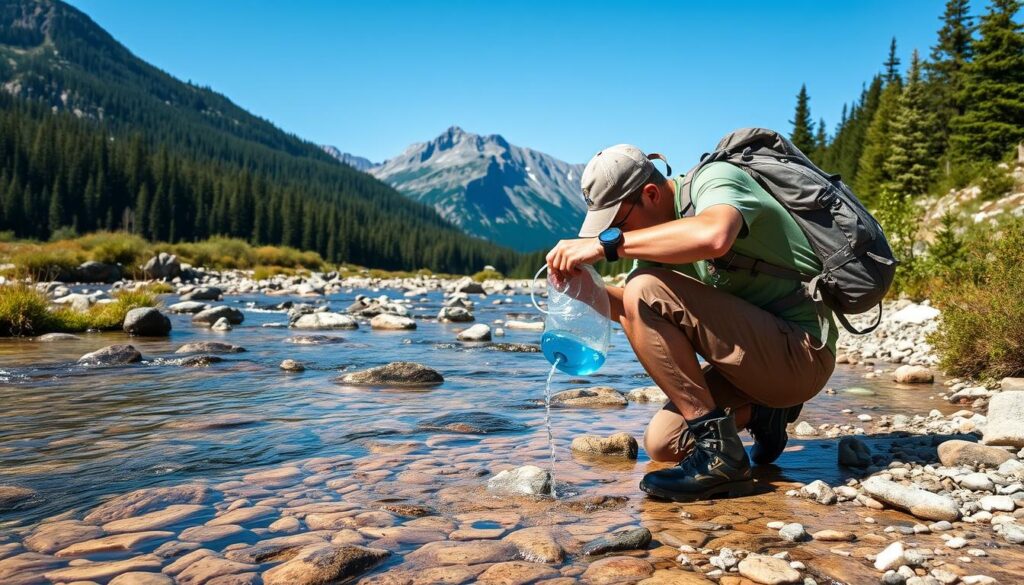
Choosing the right hydration water bladder for hiking comes down to balancing your specific needs:
Consider Your Priority Factors
Quick Recommendations Based on Hiker Type
Day Hikers
Ultralight Backpackers
Multi-Day Backpackers
Remember that personal preference plays a significant role in hydration systems. What works perfectly for one hiker might not suit another. Consider borrowing or testing different systems before investing in your own.
With the right hydration water bladder for hiking, you’ll stay properly hydrated on the trail, enhancing both your performance and enjoyment of the outdoor experience. The perfect system balances capacity, durability, ease of use, and maintenance requirements to match your specific hiking style and needs.
Ready for Your Next Adventure?
Explore our complete selection of hiking hydration solutions, from ultralight bladders to comprehensive systems for every type of outdoor adventure.

